Pages

Wednesday, August 24, 2011

Fibonacci flora


Hello! I'm in the process of upcycling a stack of old men's t-shirts (thanks dad!)I deconstructed and reconstructed my first of them using an existing shirt, that I like the fit of, as a template (sorry for no tutorial : P ) Between opportunities to work on it I'm taking care of my 2 little ones, but I find those little breaks are great for inspiration to come in! No doubt if you follow craft blogs you have seen many "how to's" for fabric flowers, I have! BUT I have not seen one with this technique that came to me along with my favorite flower dooodle I have been doing the last year or so when coloring with my Katie bug : )

This technique uses the Fibonacci sequence. I absolutely love natures patterns and love math (im a nerd, lol). If you are unfamiliar with it, you're missing out if you dont look into it!

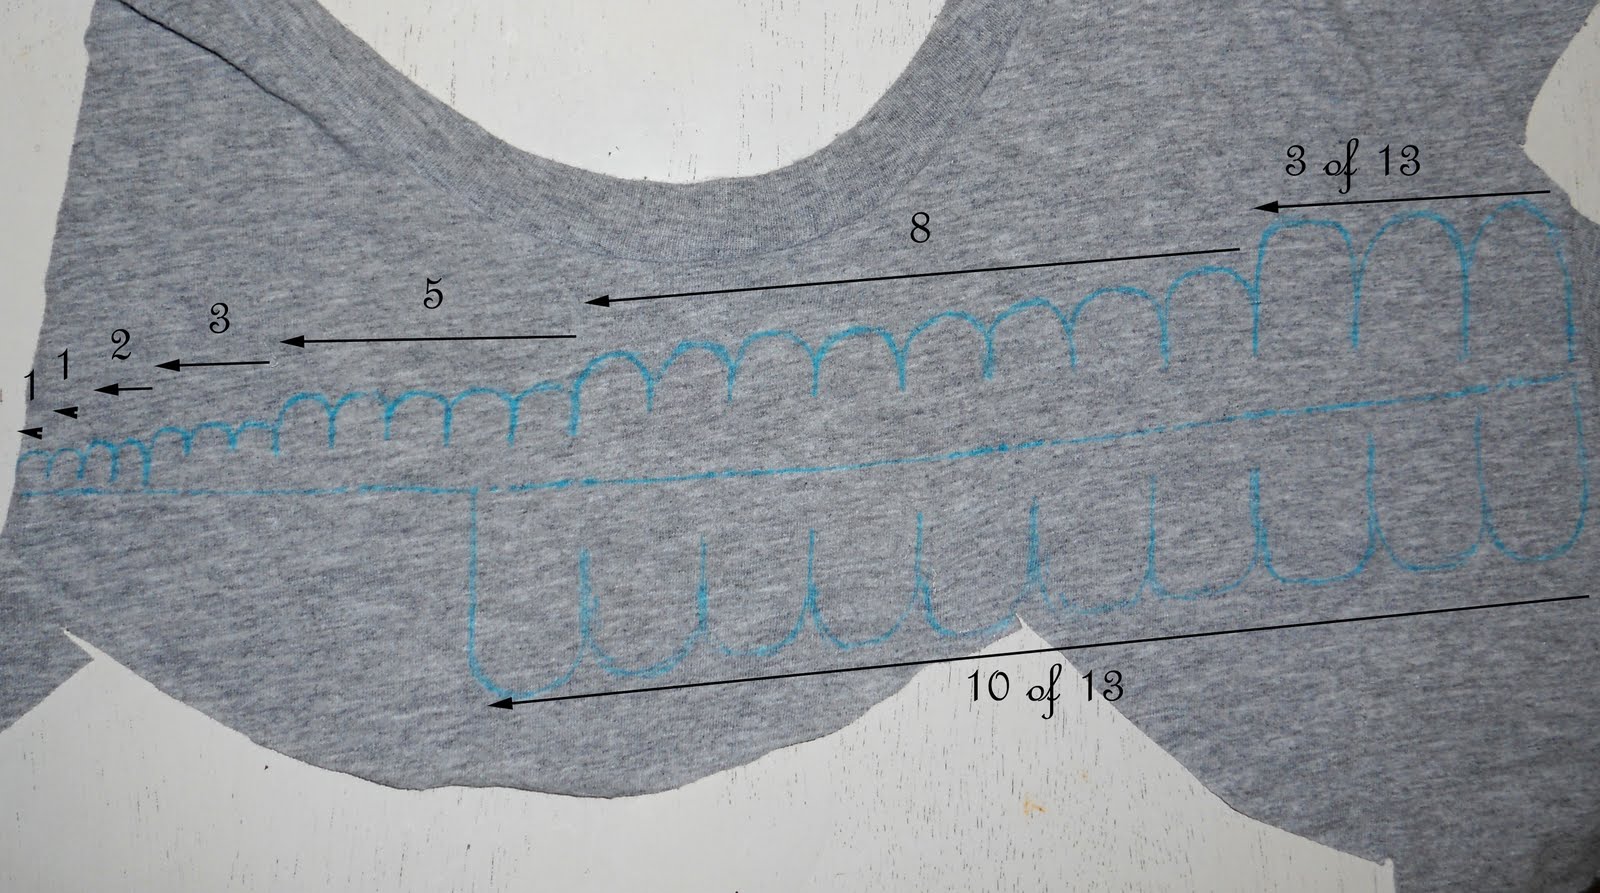
Below I made my plan for the petals. I used a water eraseable fabric pen. If you want to use a longer piece of fabric to have one continuous piece it's minutely easier. I used the scraps I had and found it made no difference to add the extra petal piece using the width available. It isn't important for it to be perfect but you do want the petals in the right amounts to be close in shape, and you want to progress in size : ) 1, 1, 2, 3, 5, 8, and 13 petals... if you want to go on to 21, or beyond, go for it!!!! : D


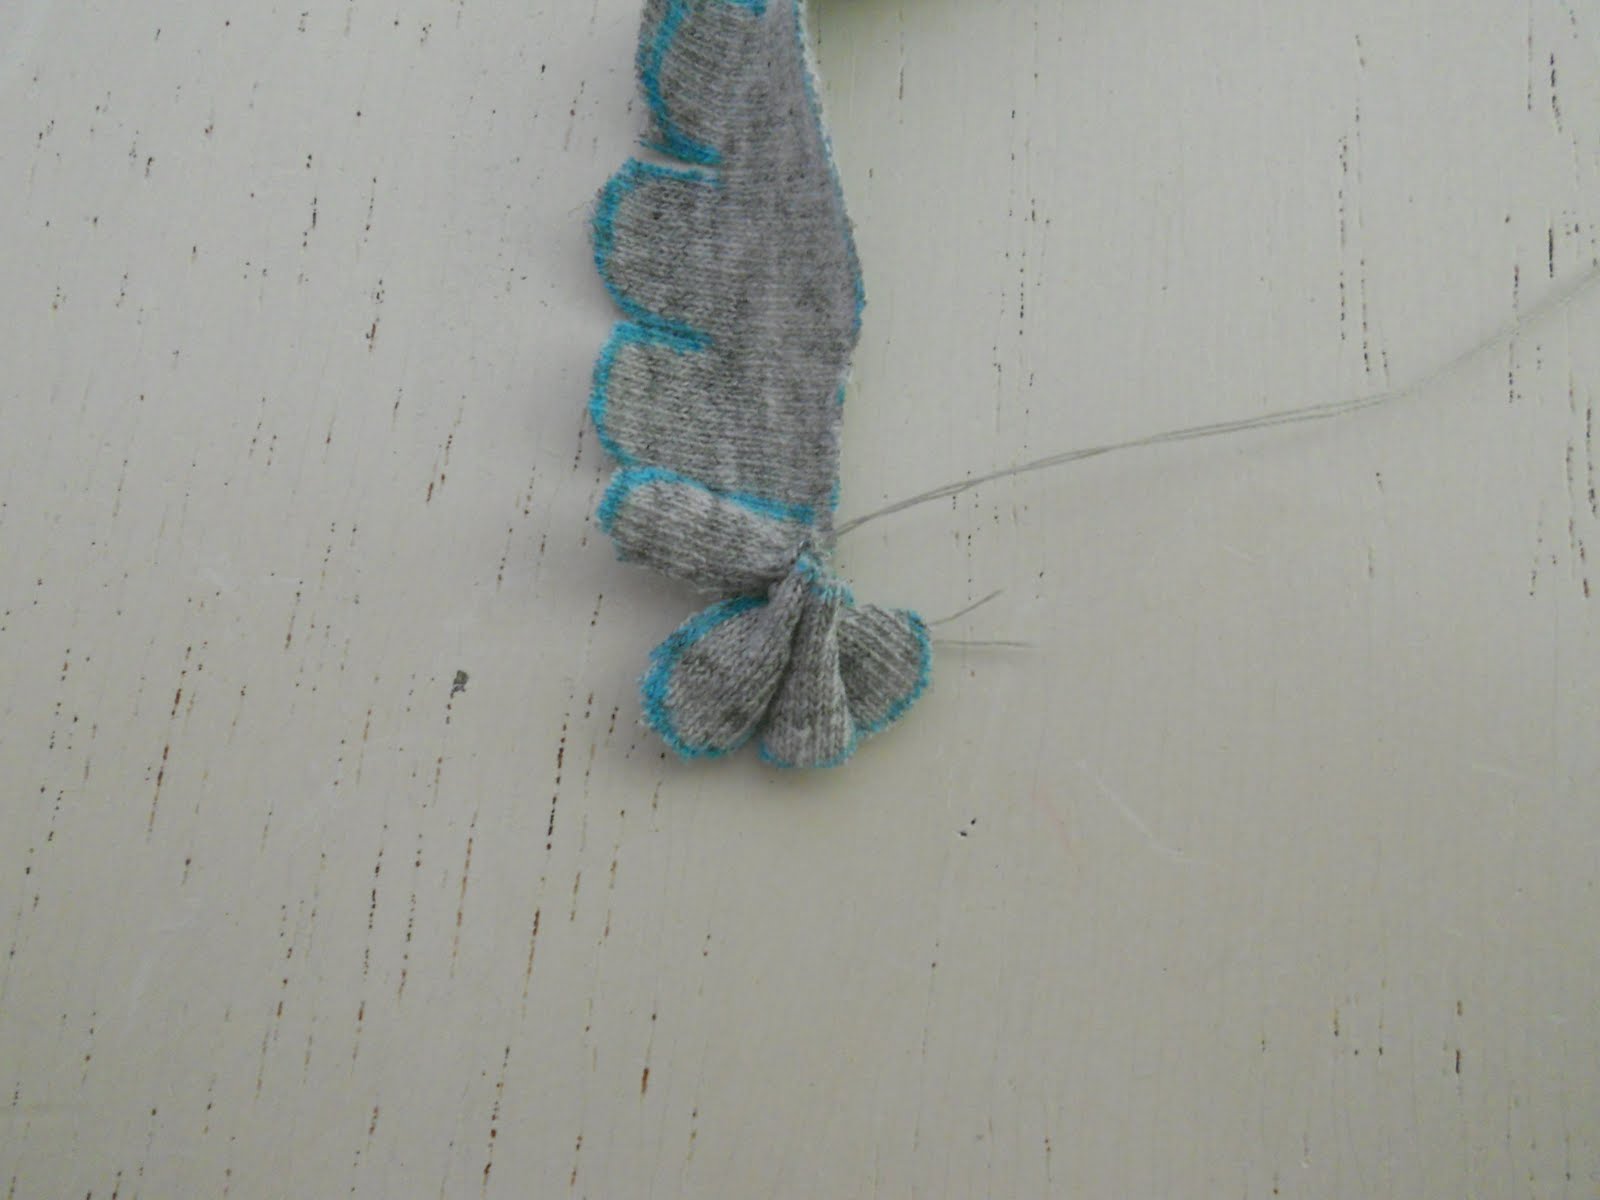
my first few petals i weaved the needle through in a simple stitch


i pulled through and went back with the needle making a loop of thread through the first few petals


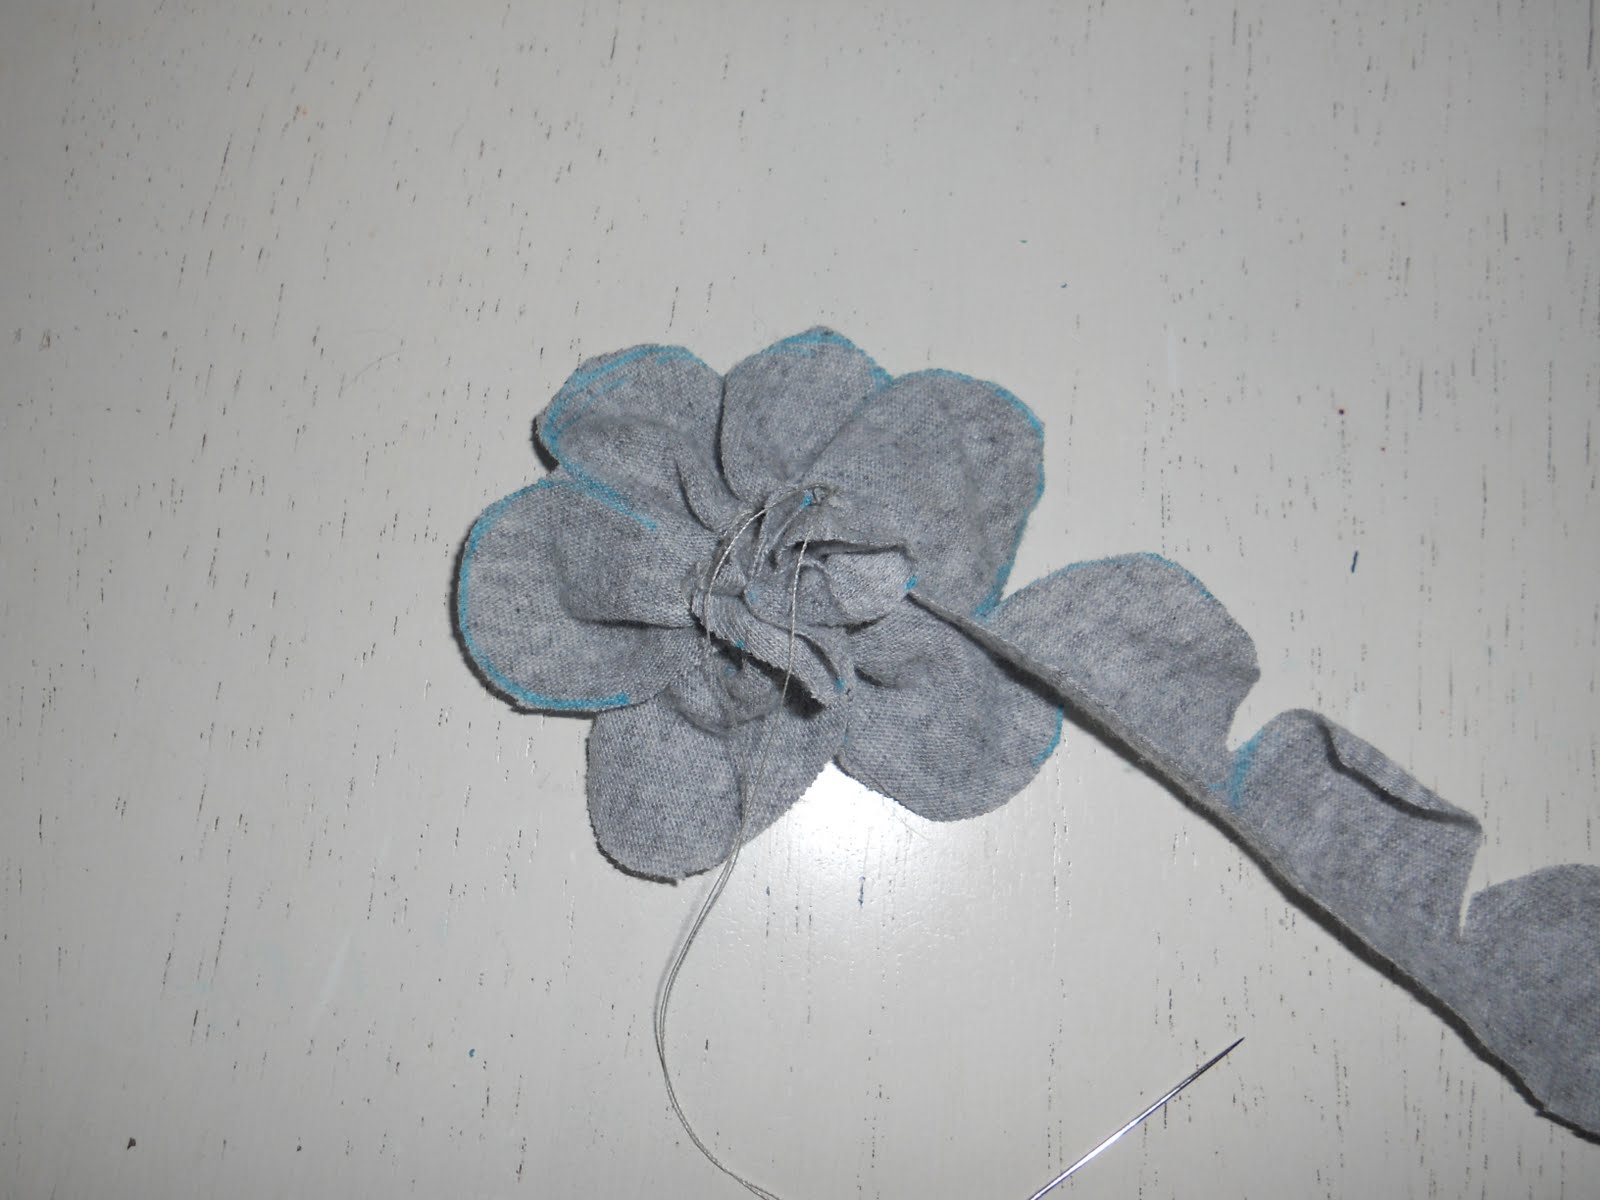
then i flipped it over and began to work from the back pleating the fabric and spiraling around the base made by the start


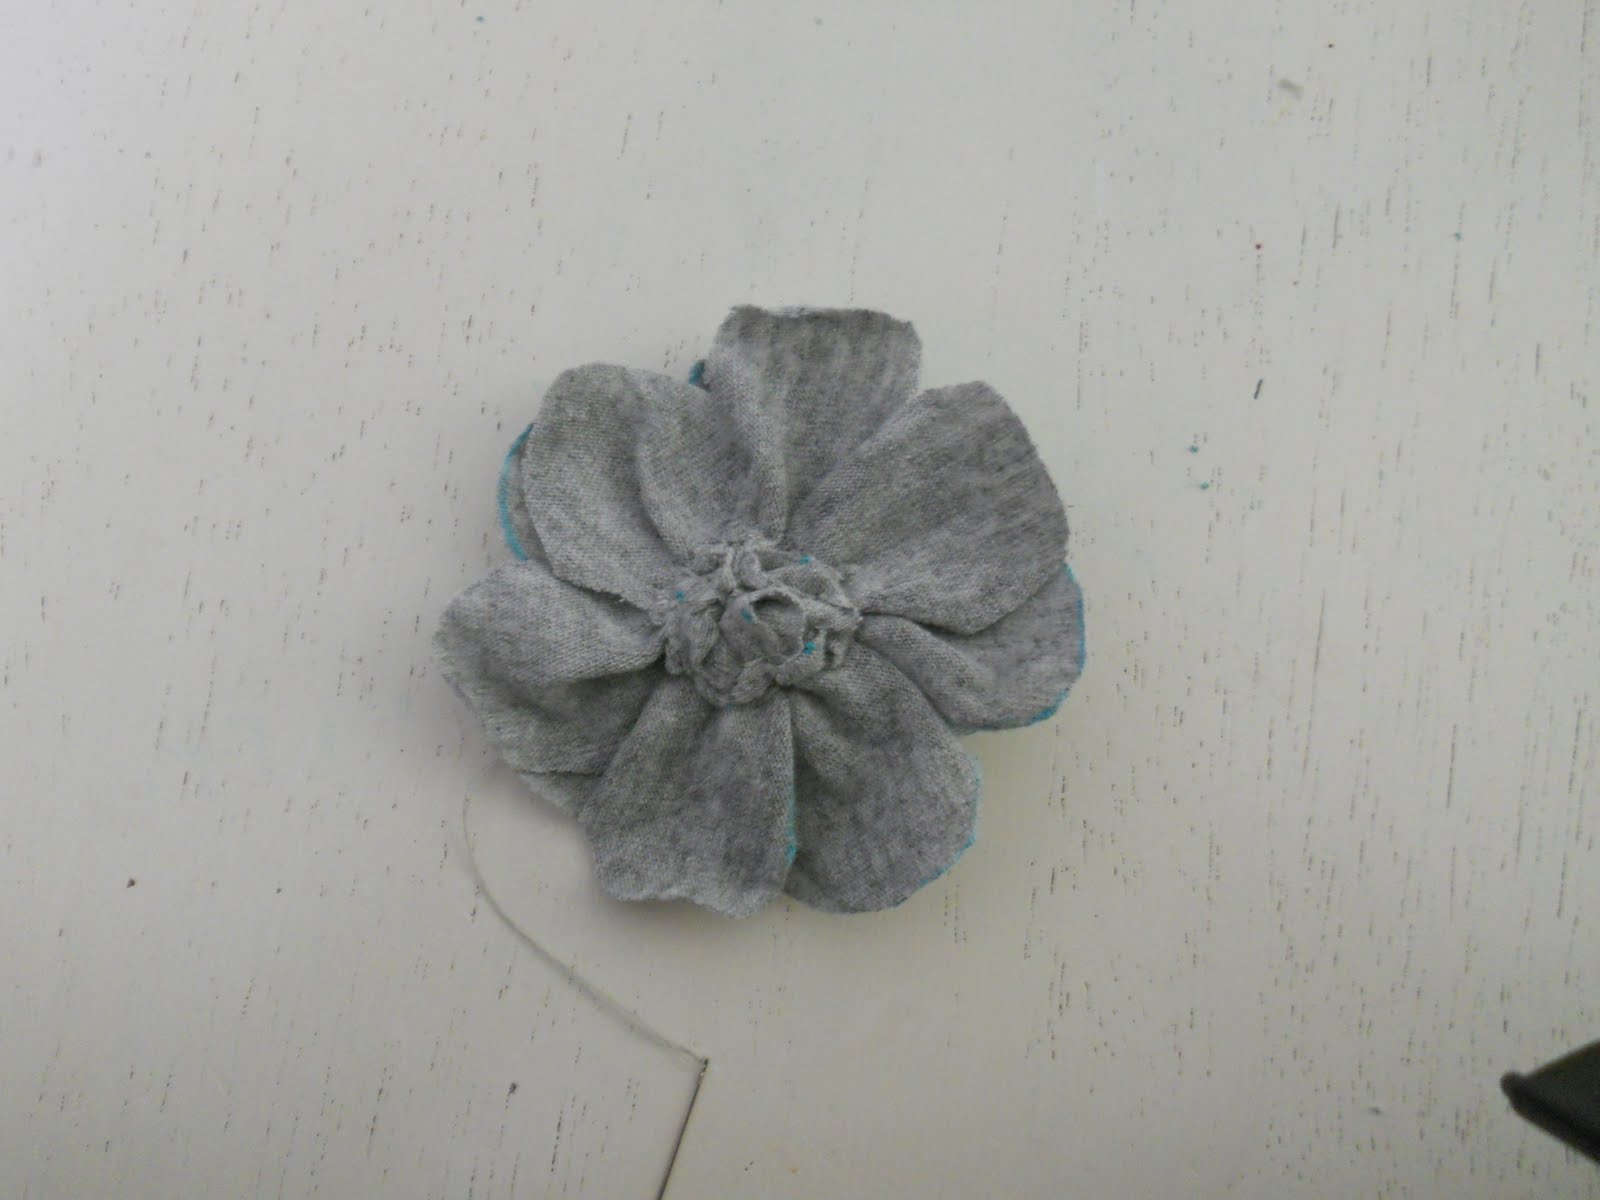
here you see the backside completed. i personally think the back is just as pretty as the front but a daisy like flower wasnt what i was going for


the one on the left is completed with some seed beeds sewn for some dazzle : P it is after washing and drying as well. on the right you see a flower that went to 8 instead of to the 13. i also made the cuts between the petals deeper. I'm showing it here before washing because i actually liked how the ink outline looked and wanted to show you in case you would want to use permanent marker and have an outline : ) this way you could see that possibility before creating your own.


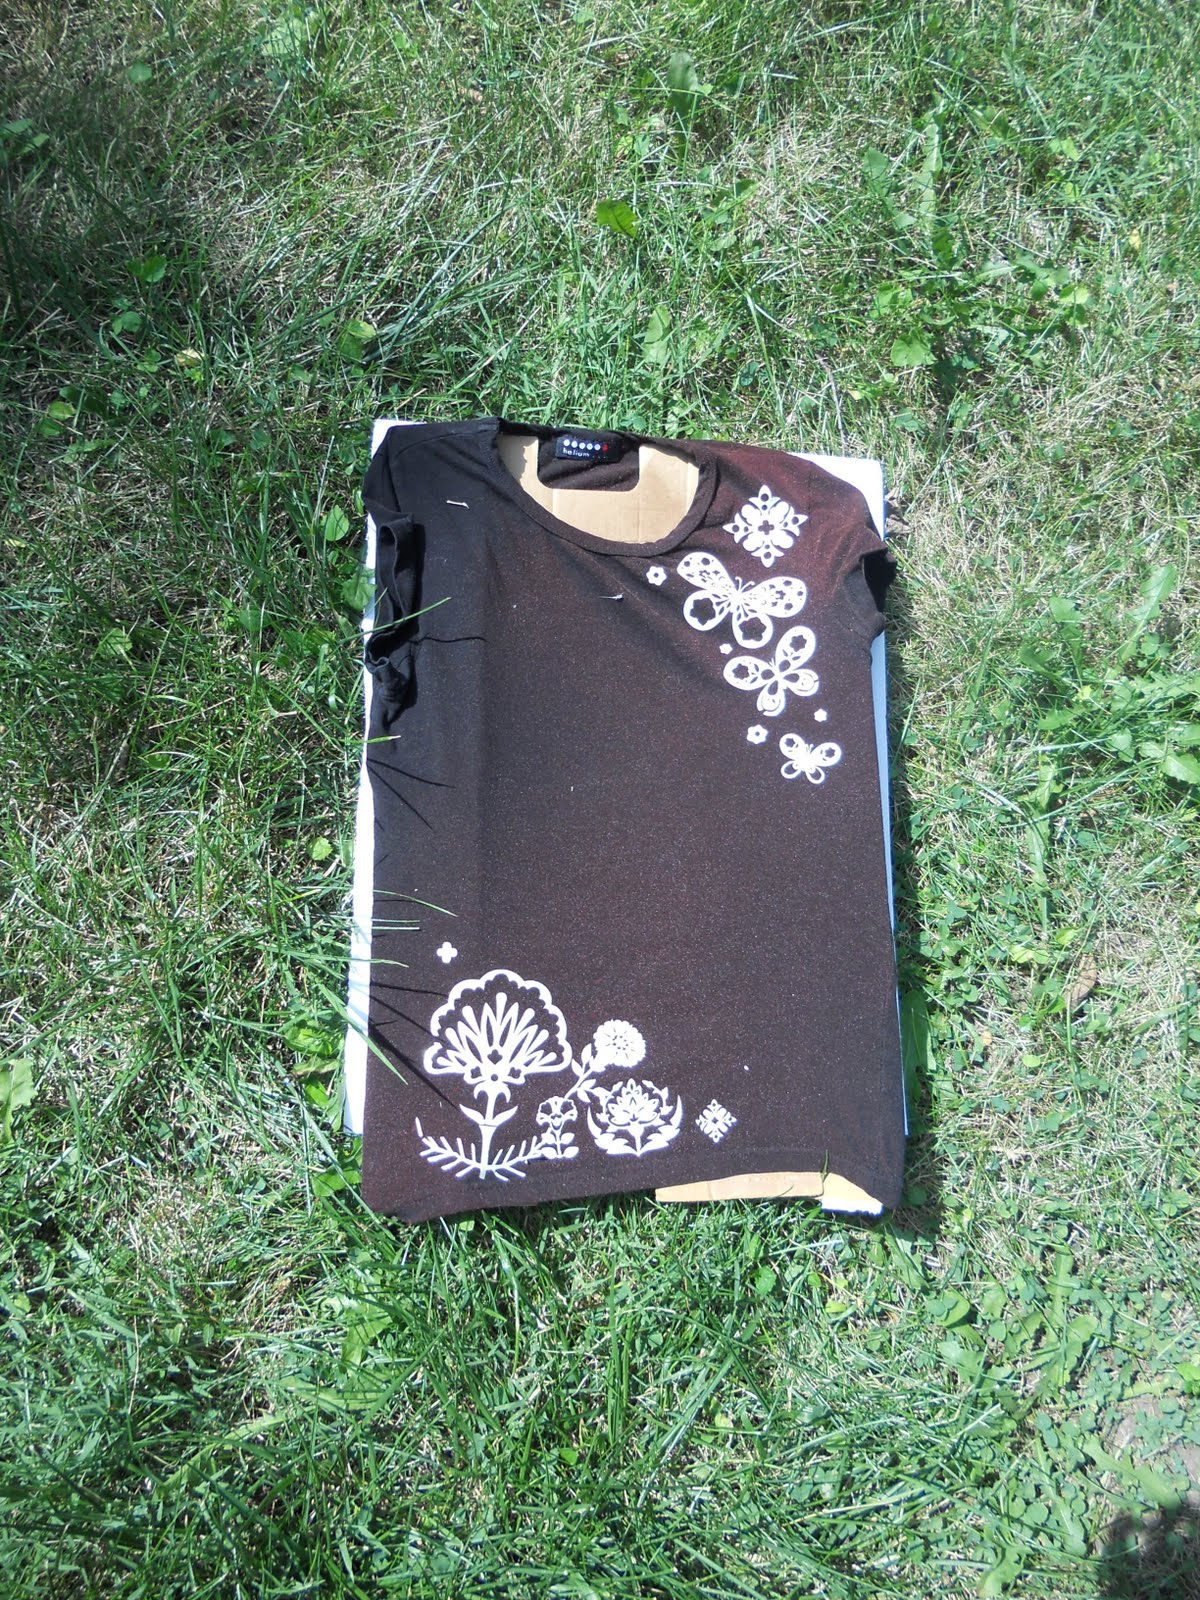
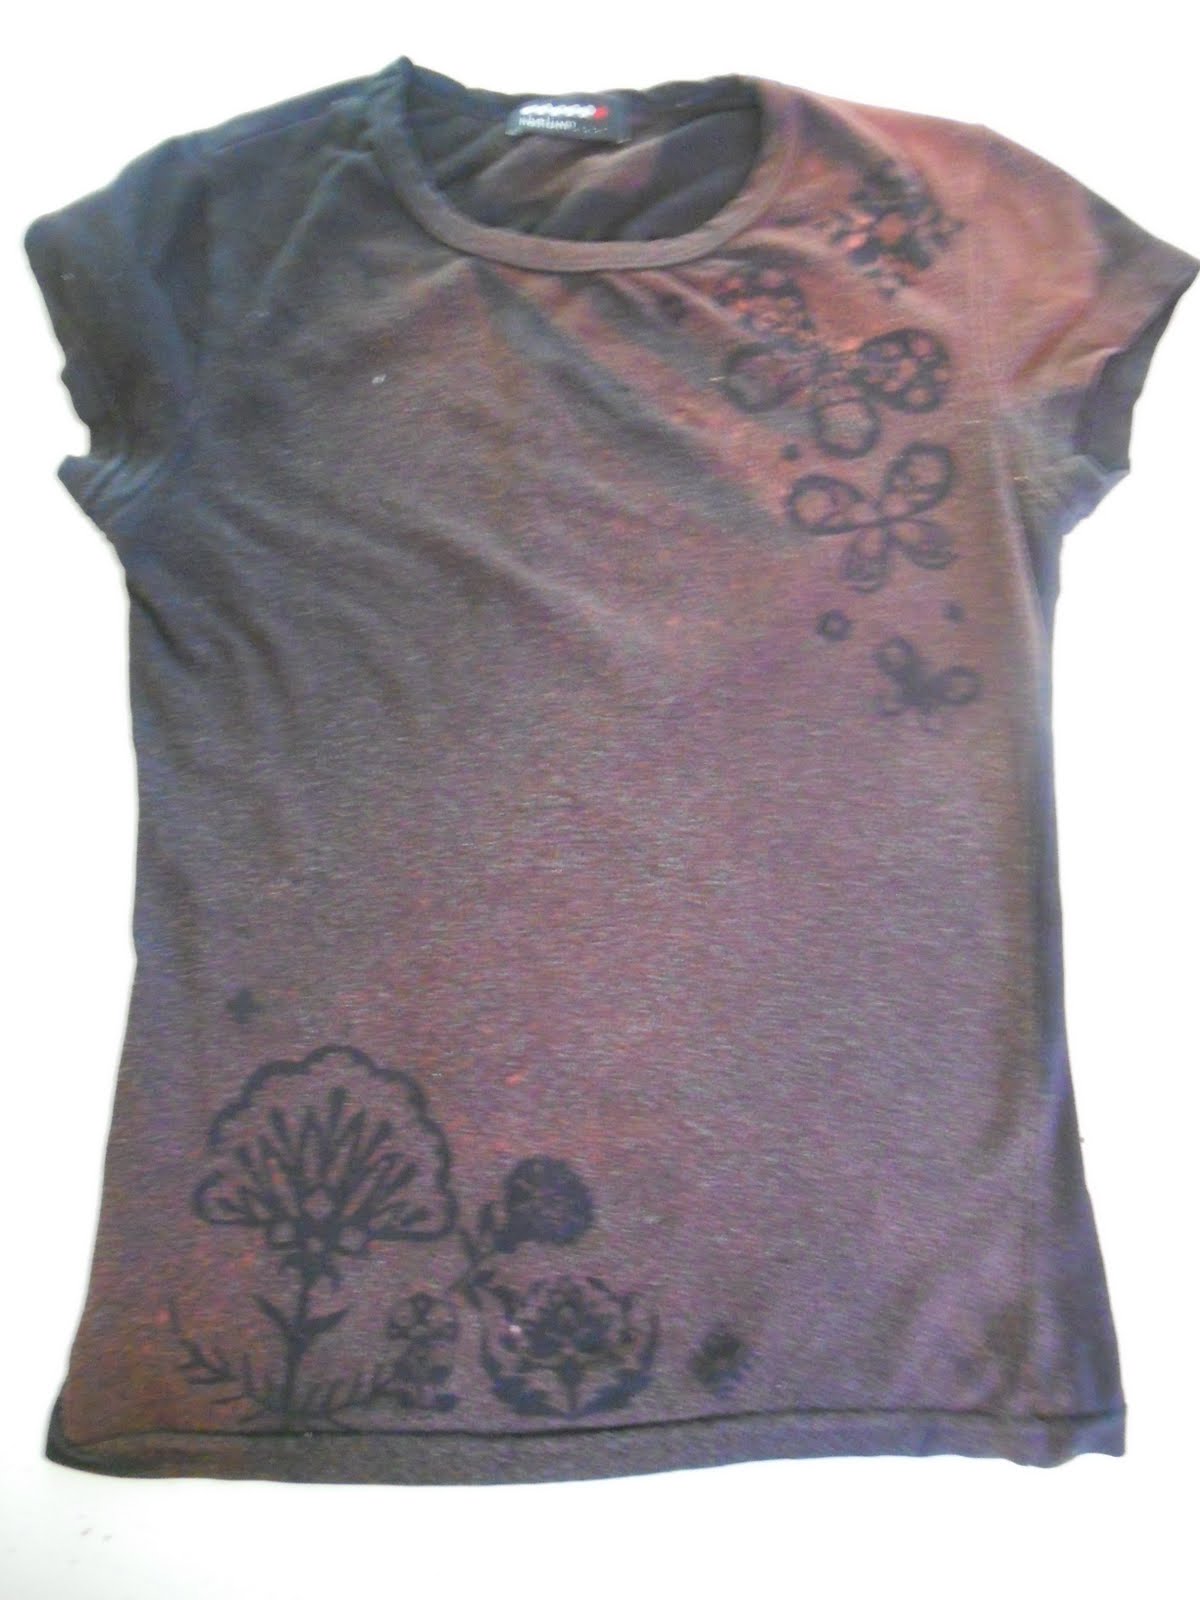
And voila! i made a smaller one going to 5 petals of equal size and sewed them to my 'new, old' shirt!


in case you wanted to see the whole upcycled shirt:


: ) i have a favorite shirt right now

Tuesday, August 2, 2011

bleached out

It's been a while since my last blog but fortunately the blogging world hasn't noticed yet, though maybe someday it would be nice if it were- when i have the time :) I've wanted to try this project for a few weeks now and have seen several examples online.... none i seen used masking tape so it left me wondering how well it would work. Masking tape has been a wonder creation for me lately! I have been having surprisingly wonderful outcomes with it for a number of recent projects. Also, I've been addicted to the new Cricut my super, amazingly kind, MIL got me.
But you can create your stencils (or buy them) cutting free-hand with scissors, printing your image or letters from the printer, using an exacto-knife, where ever your imagination takes you!! I saw on one site a woman just layed branches down on fabric and used this technique and it looked great! In other examples I seen no sort of adhesive was used at all, you could just lay your shapes down and spray. I would imagine you could just twist the garment and have a tie-dye effect. My result has 'fold' marks near the collar; they werent intentional but made it even better!

supplies:

item of clothing, piece of fabric, pillow case --- something that will respond to bleach (my shirt had a single tiny dot of a bleach mark so i knew it would go reddish)

bleach
water
spray bottle (my solution was about half bleach and half water)

card board --- to put in between shirt to prevent going through to other side just in case and for a surface to lay project on while spraying

what you will use for stenciling, if any at all, possibly some rubber bands if tie-dying


a plain, old black t-shirt i was not wearing... At All... :)


With my masking tape stencils cut with cricut machine using Florals Embellished cartridge. With experimenting I've discovered masking tape is Awesomely cut with the cricut when you have the pressure, speed, and blade depth all set to "2".


on cardboard with cardboard inserted inside ready, outside to be sprayed. Right now would be a good time to make sure you have your water bottle nozzle set for how you want it to spray, before doing the garment. I set mine to a 'mist'.


spray lightly and wait for it .........


with a moment it seems to "develop" into the fabric. i sprayed mine from the lower left and top right corners inward with a light mist 3 times at the most and got this effect. as luck would have it :) since i did spray so lightly, if you notice near the tag where my cardbord didnt cover, it did not bleed through to the outside.


And there you have it!!!!! I let it dry outside for about an hour in 95 degree weather before i moved it, but put it on right after taking it's finished pic!
It really turned out beyond expectations : ) the whole time i was cuting and applying my 'stencils' i was telling myself to have low expectations on the detail, but I got pleasantly surprised!!!! they were all there! I credit the masking tape!:)

happy crafting to you! and i have lots of ideas but not enough time or money to do them all but i hope to be sharing them here soon!
lots of love and hugs!
Btw.... we have number three on the way!!!! I had not shared that here yet so why not now! : )