A friend of mine is having her first baby, Yay! Got to love babies! and making stuff for them! They didnt find out the gender but she has suspicions it is a boy : P. And from her symptoms, based on my own experience, I would guess she is having a boy too : ). Im posting the gift I made for baby here to have a record of the project and to share the method which I personally have never seen made before, so to me I was being original : D even as basic as it is.
What I did? I made a toddler size blanket and matching crib size (not sufficateable size) pillow with flannel and fleece. I have never seen nor felt a blanket made out of these together But it is So soft and warm, but lightweight. I need to make one for my little girl (yes, we are havin another girl in January, Yay!). A really great warmth factor for her November baby. Mommy and Daddy went with a bold green and dark brown in the 'nursery' so those colors were what I went for and I used the most gender neutral print I could find : )
So the process was simple. Cut the fabric, sew the applique in place, right sides together sew the perimeter with enough left open to turn it out, opening was hand sewed (after pillow was stuffed), then I sewed on the outside (blanket only) two inches from the edge a simple stich border to prevent bunching later. Lining up the blanket to sew the outside perimeter proved trickier than I anticipated, so beware!
The fleece has it's tendencies to stretch oddly.
And here it is, I love it, and I hope they do too! I know with mine the softer the blanket the cuddlier mommy and baby are!
Showing posts with label gift. Show all posts
Sunday, October 2, 2011
Tuesday, December 7, 2010
give a H(@,@)T!
Made this owl pillow today for my little girl for christmas : ) I guess to be sharing for the season maybe it should be a turtle dove or even a snow owl : P oh well! i like it! and i like it enough to share here : )
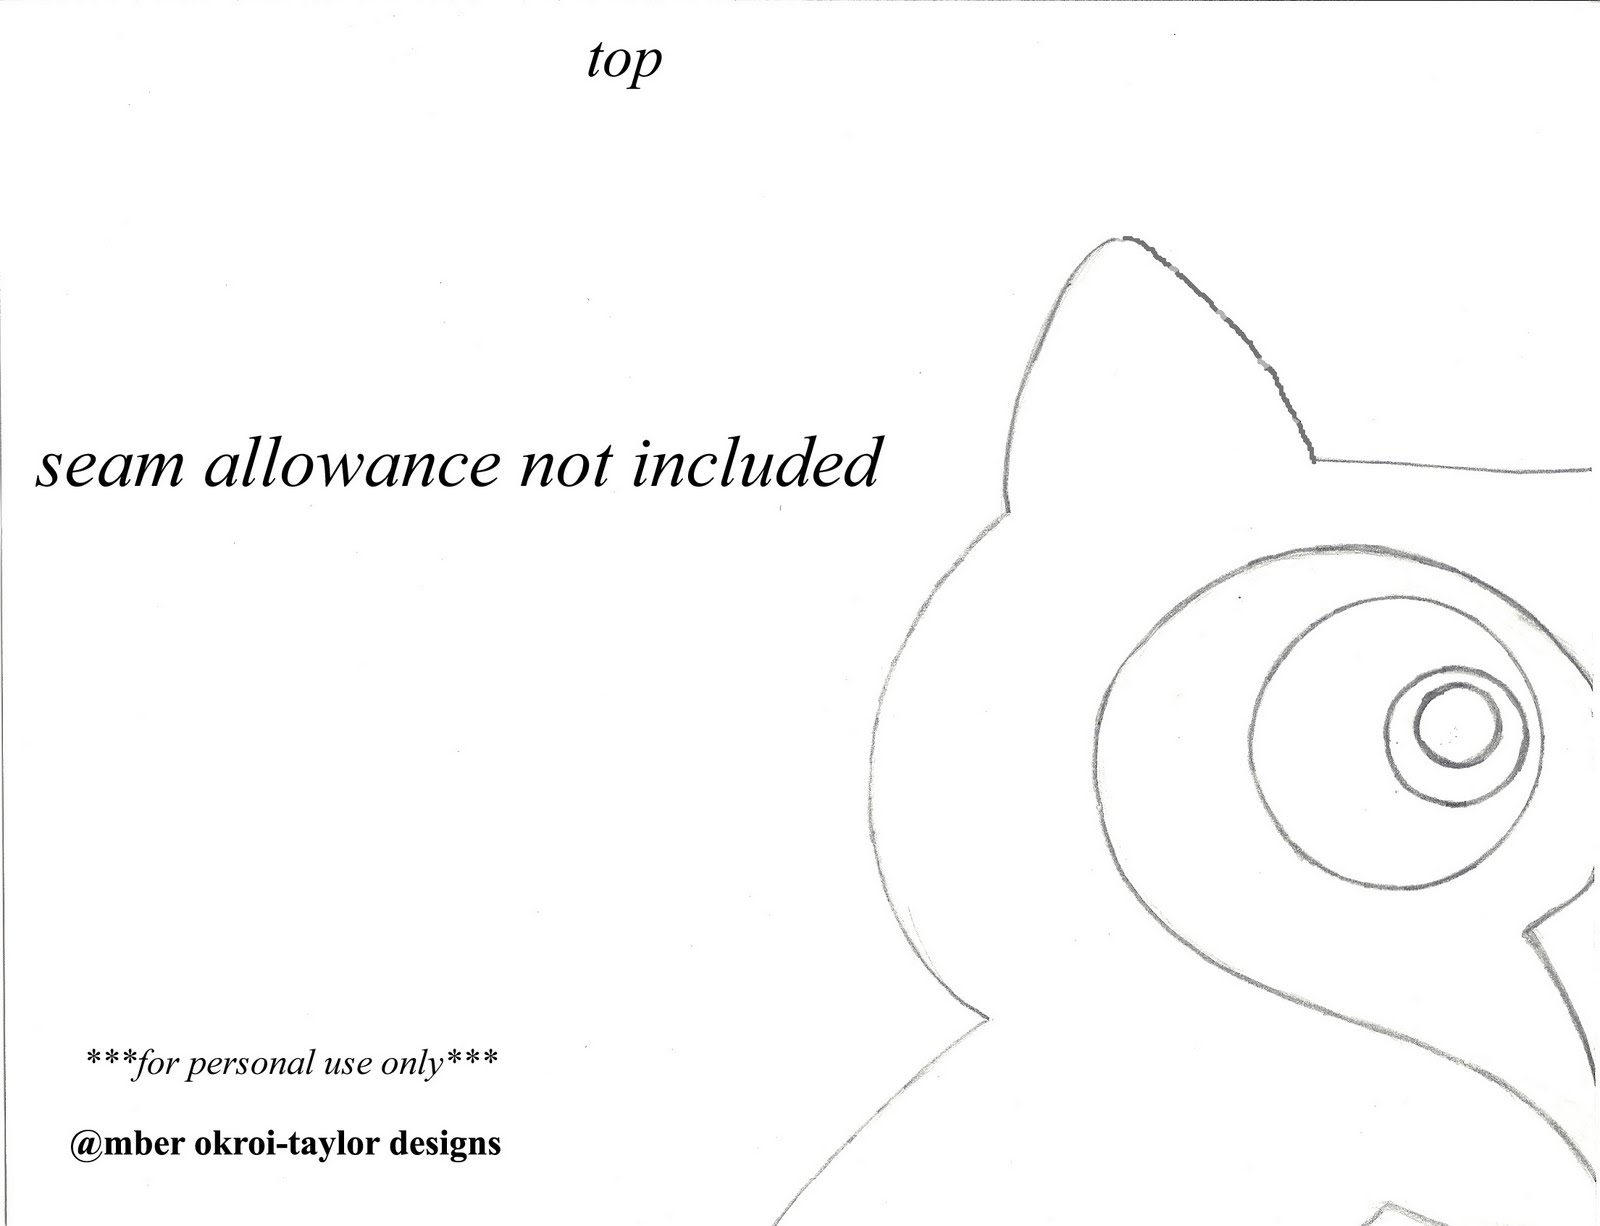
I didnt take pictures of the process for a tutorial but i've put the templates i made at the bottom of the post if you'd like to make one like this one^ I LOVE making HOMEMADE GIFTS!!!!
^my own caricature of an owl : ) if i ever have my own design line ( i hope to!! ) this may very likely be my own "signature owl" i was surprised when i googled images i had not seen an owl interpretation with a heart face. i got the inspiration from the face of a baby great horned owl : ) definately suits my style : P (i need a new ink cartridge otherwise i wouldve just scanned and enlarged this image, ooooh well)
( @,@)
(),,_,,()
(),,_,,()
Wednesday, February 24, 2010
pretty little burpies
As I wiped some chocolate milk off the front of my daughter it occured to me I will be using many cloth diapers everyday, again, when my son comes in a little over 6 weeks. : ) Also, the thought came to me that I wouldn't want cross contamination between the two of them. When Katie was an infant she had acid reflux for a while and we used multiple cloth diapers everyday to wipe up the little messies, and we still use them when her 'spill proof' sippies spill : P.
Fortunately, we have a lot of cloth diapers hanging around (thanks to my wonderful mother-in-law). I had made a genuine effort to be eco-friendly by trying to use cloth diapers instead of disposable. Unfortunately, my daughter has sensitive skin, and though I would change her instantly she would break out in these rashes; I'd switch back to disposables and she would heal well, then I'd try again with the cloth and she'd break out again. I'm sorry Mother Earth : ) we tried. Doesn't help she has eczema too.
So, since I dont want to cross contaminate them I'd have to be able to tell their wiping rags apart. This is such a simple idea but I thought it was cute and wanted to share it. : ) Also, making a set and giving it as a baby shower gift would be nice and useful, not to mention thoughtful despite being so simple!
All this project is is giving a printed border to some cloth diapers to make some pretty little burpies. : )
You could use bias tape, ribbon, or like I did - make you own bias tape with a fabric of choice.
First, I measured the dimensions of the cloth diaper and in this case it was 14.5 " x 20.5". I'm sure they vary, so measure yours too!
Of the fabrics I used, one had the full 72" length I would use to make sure I had enough at the end after going around all 4 sides. With the other fabrics I used two pieces 36" x 4" to cover 2 sides at a time. The 4" came because I wanted my border to be 1" around.
before................................................................................................after...................................................................................................


I made my border by ironing the fabric in half, lengthwise, then ironed the outside edges in towards the center (like making a strap). Then I opened it to iron down the starting edge to avoid a corner that may fray.


I folded the corners as I pinned the 'tape' around to have an angle but squared edges would look good too. Afterall, these aren't going to stay as pretty with use anyway : D. At the end I folded under the same as with the start, to prevent fray. I used my machine and sewed 1/3 inch from the inside of the border to be sure both sides were being sewn to the diaper. And Voila! Pretty little burpies! for all of baby's not-so-pretty little messies! : )
Fortunately, we have a lot of cloth diapers hanging around (thanks to my wonderful mother-in-law). I had made a genuine effort to be eco-friendly by trying to use cloth diapers instead of disposable. Unfortunately, my daughter has sensitive skin, and though I would change her instantly she would break out in these rashes; I'd switch back to disposables and she would heal well, then I'd try again with the cloth and she'd break out again. I'm sorry Mother Earth : ) we tried. Doesn't help she has eczema too.
So, since I dont want to cross contaminate them I'd have to be able to tell their wiping rags apart. This is such a simple idea but I thought it was cute and wanted to share it. : ) Also, making a set and giving it as a baby shower gift would be nice and useful, not to mention thoughtful despite being so simple!
All this project is is giving a printed border to some cloth diapers to make some pretty little burpies. : )
You could use bias tape, ribbon, or like I did - make you own bias tape with a fabric of choice.
First, I measured the dimensions of the cloth diaper and in this case it was 14.5 " x 20.5". I'm sure they vary, so measure yours too!
Of the fabrics I used, one had the full 72" length I would use to make sure I had enough at the end after going around all 4 sides. With the other fabrics I used two pieces 36" x 4" to cover 2 sides at a time. The 4" came because I wanted my border to be 1" around.
before................................................................................................after...................................................................................................
I made my border by ironing the fabric in half, lengthwise, then ironed the outside edges in towards the center (like making a strap). Then I opened it to iron down the starting edge to avoid a corner that may fray.
I folded the corners as I pinned the 'tape' around to have an angle but squared edges would look good too. Afterall, these aren't going to stay as pretty with use anyway : D. At the end I folded under the same as with the start, to prevent fray. I used my machine and sewed 1/3 inch from the inside of the border to be sure both sides were being sewn to the diaper. And Voila! Pretty little burpies! for all of baby's not-so-pretty little messies! : )
Subscribe to:
Posts (Atom)